Where there is a will there is a way
Showing posts with label knitting. Show all posts

Sunday, October 4, 2020

How to knit a simple mouse for SPCA cats (or any animal shelter/rescue)


This is a super simple pattern; even beginners can do it. (Though I do suggest just knitting only for beginners until you have it down, before purling; don’t progress too fast!  This is an intuitive process, and requires heaps of repetition before it becomes intuitive.  Don’t overthink it!  It’s a memorisation thing.)  For example, feel free to make this pattern just knitting both sides if you like, that fabric is called garter; I am sure the cat won’t mind!

The mouse is knitted as a flat shape, then sewn up after.  There are two ears that you sew on before sewing up the body.  

Here are links to great videos by Sheep & Stitch, if you are new to knitting!

Cast on:

  https://youtu.be/1vm6oaYzHyA

Knit:

  https://youtu.be/Egp4NRhlMDg

Purl:

  https://youtu.be/7ePhLqw6HDM

By the way, if you love making critters - try knitting in the round one day!  Takes a little getting used to, but no sewing up is required!  (Short wooden double pointed needles are great for small creatures.)

Here is a how-to video I have made for this pattern, written instructions still images below for your reference as well.


SPCA Knitted Mouse Pattern

Mouse body

Size 7 / 4 mm needles, 8 ply wool (any kind) or thicker

Cast on 12 stitches, and knit 12 rows in stocking stitch (1 row knit stitch, 1 row purl, repeat until you have 12 rows).  Then you start shaping mouse head by reducing at start and end of each row until there are 4 stitches left: knit two stitches together at the beginning of row (k2tog), knit to last 2 stitches, then knit two together at the end of the row (K2tog).  When you turn your work to purl, purl the first two togetherJ (p2tog), then purl to last 2 stitches, and purl these last 2 together (p2tog).  Break off wool, put on a wool needle and draw through remaining 4 stitches, cinch up.  Leave aside.

Cast on 12 sts

12 rows stocking stitch

K2tog (first 2 sts of row)

...then k to last 2 sts, K2tog

P2tog (first 2 sts of row)

...then p to last 2 sts, p2tog

Until 4 stitches left

Break off wool and draw through 4 sts


Ears, make 2

You can break off a 60 cm length of wool (or longer) and cast on from middle

Cast on 6 stitches, knit 1 row.  Then break off wool, put on wool needle, draw through 6 stitches, cinch up.  

Cast on 6 sts

Knit 1 row

Draw wool through 6 sts


Sew up mouse, finishing

Sew on ears guessing best location, for each ear leave 2 wool strands inside the mouse on underside and tie in a square knot, then trim.  Then sew up the mouse body using the strand left at the mouses’s nose, weaving from one side to the other; leave a gap at mouse bottom for stuffing.  Leave the needle on wool strand, stuff the mouse, then sew up bottom by drawing wool through bottom stitch of each cast on row...draw tight and secure with a knot (draw wool through a loop).  There will be two strand at bottom, do not cut off but use to plait (you can add another strand when you sew on eyes so you have three), or crochet chain stitch one strand and trim the other.  Whiskers: optional!


Sew on ears, tie on underside


Sew mouse up using nose wool strand, leave gap

Stuff mouse

Draw bottom closed

Sew on eyes


Plait tail

Add any other touches you like 


Deliver finished knitted mice to your local SPCA or animal shelter!


Thanks to Rutherford College, Auckland for hosting community learning workshops on how to knit mice for the SPCA, a practical use for art!  Also a great reason to learn a meditative craft; I enjoy it to the point now that I usually need to be knitting something!


Monday, December 9, 2019

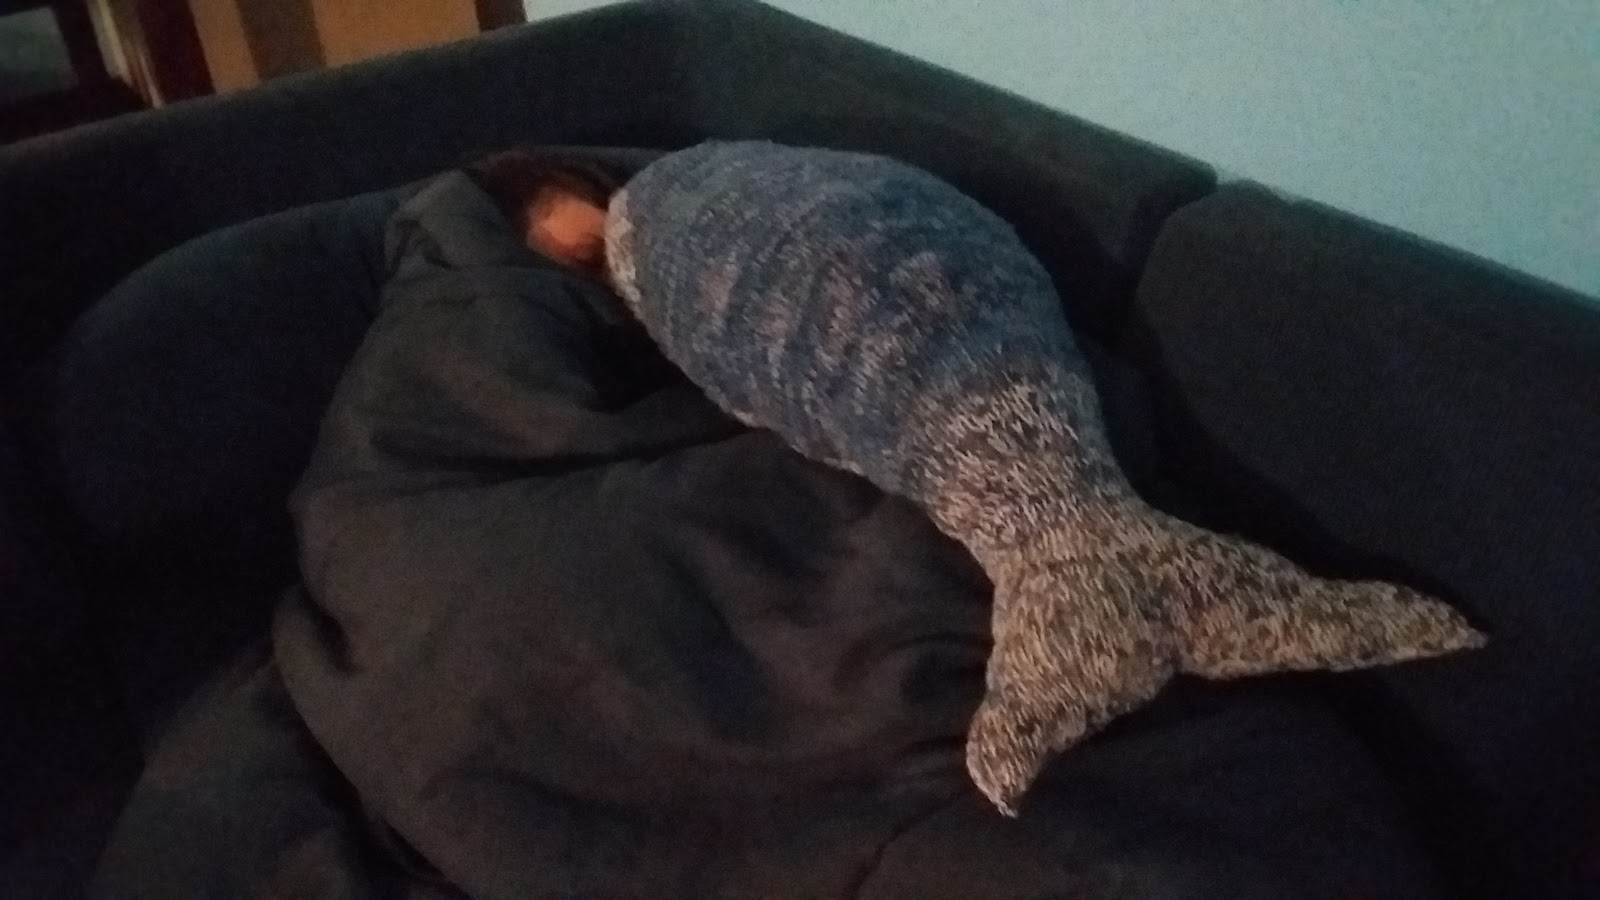
A whale for Wendy


It was a whale of a project.

But I wanted to express to my sister how much I loved her, from far away.  (I live in NZ, she in North America.  She had also just given me some super valuable advice and had always helped me so I wanted to show her how much I cared.  Also, wouldn't that be a funny thing to get in the mail?  

I restarted several times figuring out the best way to proceed.

I normally knit in the round, and after many sea creatures like dolphins, start at the nose and expand or shape at will.  It is seamless.  It is like a sculpture.

But the humpback tended to the 2D sew-it-together approach as it seems like there are two colours, one on its base, another on top.  Also the mouth wraps around up high on the whale.  After trying a few times switching colours but knitting round I gave up on that and calculated the 3D shape as best I could, mapping put the area around the whale and making a knitting graph of the top and bottom (based on actual tension).  I drew the flanking shapes - lower half shaped like an arrowhead, the top like a bottle starting narrow and staying narrow for awhile then expanding.


The graph and the drawing were super helpful but for some reason I figured it wasn't quite wide enough - too realistic - so I multiplied the stitches by 33% wider...

This was the result.

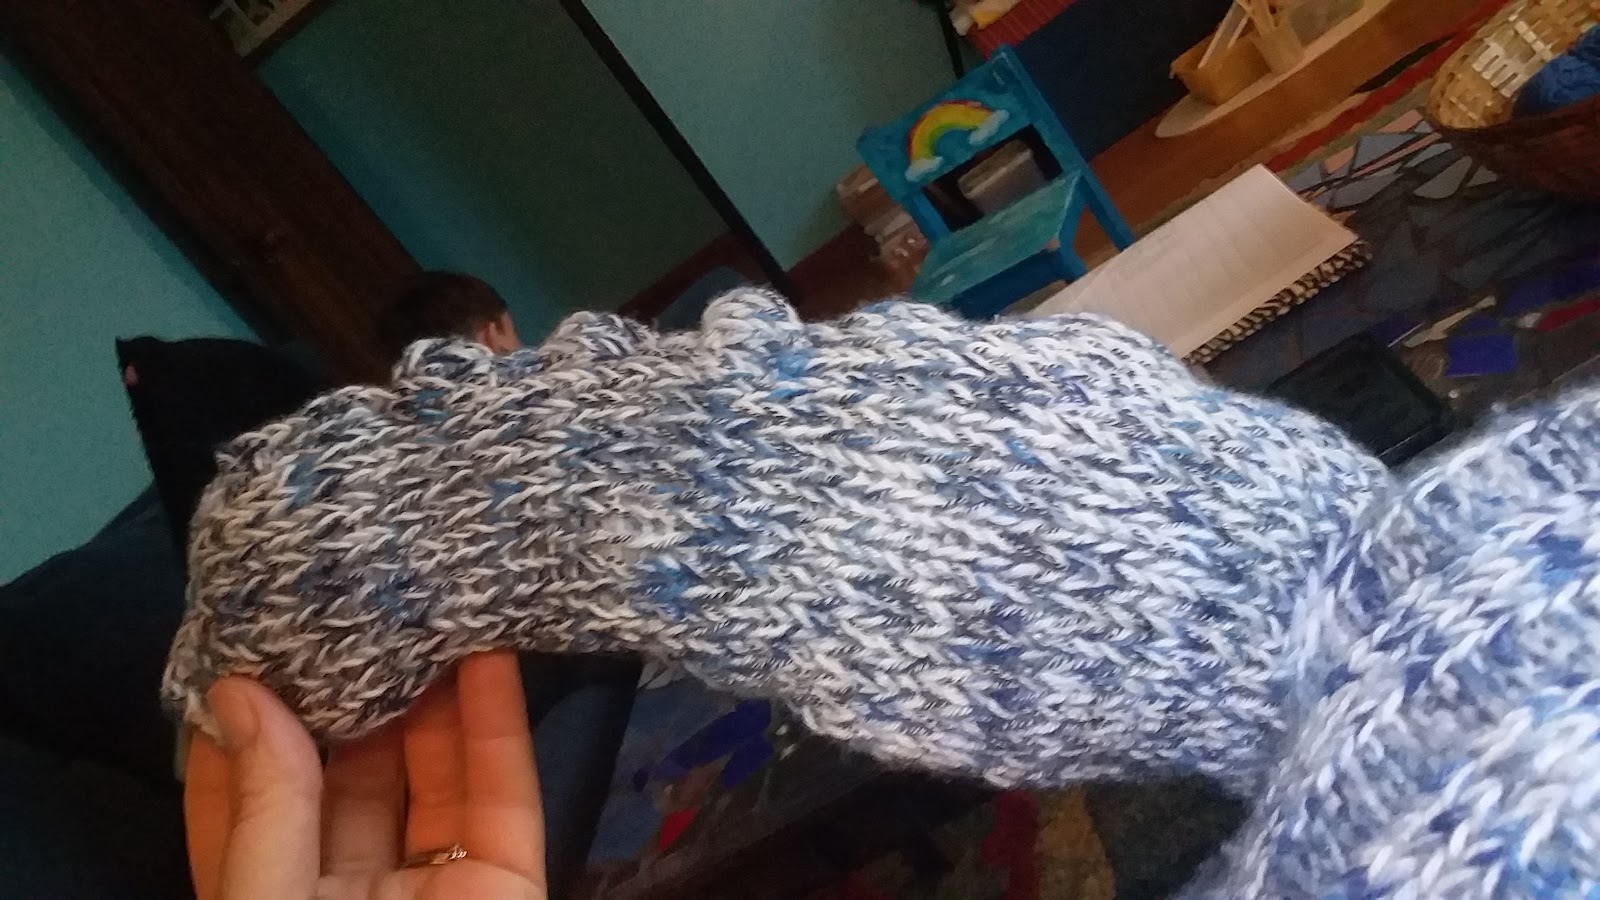
This is the start of the base (baleen) piece- really big ribbing to show those grooves...

I recorded what I was knitting - eventually sewing both parts together, stuffing it and continuing the second half in freestyle- leaving caps to return to for adding the fins.  

Every part required several tries, the start (5), the joining, the tail (twice).  The fins of course - but when I elaborately spent an evening following the scalloped edge on a fin, this is the most important part to write down as nature is syymmetrical.  I can freestyle the body all I want, but the second fin must copy the first exactly (mirrored).  And the left side of table in to right.  So it must be written down - even just for the moment until it is complete.

Kind eyes need eyelids; I always enjoy adding soul to the animals doing this part.  Eyes are the most important to be done right.

After all was complete adding bumps and even the top fin through shaping added lots of whale character.

I may not have made a realistic humpback whale, I think following such a bumpy type of whale (while shortening the proportions) allowed me to make a very whale-like whale!  

My sister has always loved blue, and I used a few strands of blue sock wool, and he same but part white on the base.  When she got this in the mail - it was a whale of a hug!


By the way here is the pattern I painstakingly recorded.  I hate following patterns myself, but just in case!  Well they are a great way to learn technique.


Pattern:

Bottom of humpback whale

Cast on 16 sts

  1. Knit in rib 16 sts

  2. Add 2 each side, rib 20 

  3. Rib 20   

  4. Add 2 each side, rib 24    

  5. Rib 24

  6. Add 2 each side, rib 28

  7. Rib 28

  8. Add 2 each side, rib 32

  9. Rib 32

  10. Rib 32

  11.  Add 2 each side, rib 36

  12. Rib 36

  13. Rib 36

  14. Rib 36

  15. Add 2 each side, rib 40

  16. Rib 40 start double ribbing 2k2p

  17. Rib 40

  18. Rib 40

  19. Add 2 each side, rib 44 2p2k first 

  20. Rib 44 stil 2p2k first

  21. Add 1 each side, rib 46 care for ribbing as 1 extra (Kfb, p, 2k2p…)

  22. Rib 46  starting k1 p2 k2

  23. Rib 46 

  24. Rib 46 

  25. Rib 46 

  26. Add 1 each side, rib 48 

  27. Rib 48 switch bigger needles

Rows 28 - 48, continue double rib 48 for 12 rows, then change to 

49. K or p2tog 7 times following pattern, then continue pattern until 14 left, k or ptog 7 times following pattern

50. K2tog, p2tog, k2tog, continue pattern until last 6 - k2tog or p2tog 3 times with pattern

51. K2tog twice, follow pattern to last 4; k2tog twice (24)

52. P1, k2, p3 etc until last 3, 2p, k1


53 - 55 Continue in triple rib for 3 rows then reduce 1 more each end. (22)


Knit in pattern for 48 rows or until narrow part measures about 30 cm.


103. Switch to double rib again to fade out indents - *(2k2p) repeat until end of row (but ends on a 2k)

104. Start with 2p2k. Repeat to end, but ends on a 2p.*

105-106. Repeat rows 103/104 double rib pattern once more. 

107. K2tog,(2p2k) until last 4, then 2p, k2tog. 20

108. P1, (2k2p) repeat until last 4, then 2k, p1. 20

109. K2tog, p1, (k2p2) until 3 left, p1, k2tog. 18

110. (2k2p) repeat, ends on a 2k. 18

111. (2p2k) repeat, ends on 2p. 18

112.  K2tog, (2p,2k) until end.  17

113. K2tog, (2k, 2p) until last 3, k1, p2tog  15

114. K1, p1, (k2, p2) until last sts k1.

115. P1, (2k, 2p) until last 2, k2tog. 14

116. P1, (k2, p2) repeat until last 1 then k1.

117. K2tog, k1, p2, (k2, p2) until last 3, p1, k2tog. 12

118. (2k, 2p) until end.

119. K2tog, (2p, 2k), until last 2, p2tog. 10

120. K1, p2, k2, p2, 2k, p1. 

121. K2tog, p1, k2, p2, k1, p2tog. 8

122. K1, p1, k2, p2, k2 (8)

123. P2, k2, repeat.

124. P2, k2, repeat

Put sts on hold


Top of humpback whale

Cast on 8 sts

  1. K8

  2. P3, kfb twice, p3   (10)

  3. Kfb, k8, kfb    (12)

  4. P3, kfb, p4, kfb, p3 (14)

  5. Kfb, p12, kfb  (16)

  6. jKfb, p14, kfb (18)

  7. K8, kfb twice, k8 (20)

  8. Kfb, p18, kfb (22)

  9. K10, kfb twice, k10 (24)

  10.  Kfb, p23, kfb (26)

  11. K7, kfb, k10, kfb, k7 (28)

  12. P28

  13. K13, kfb twice, k13 (30)

  14. P30

  15. K30

  16. P30

  17. Kfb, k30, kfb (32)

  18. P32

  19. K32

  20. P32

  21. K3, kfb, k to last 4, kfb, k3.  (34)

  22. P34

  23. K34

  24. K2tog, p to last st, k2tog (36)

  25. K36

  26. P36

  27. K12, kfb, k10, kfb, k12 (38)

  28. P38

  29. K38

  30. Kfb, p38 (until last st), kfb

  31. P40

  32. K40

  33. P40

  34. CO 10 to right side, k to end, .CO 10 sts

  35. P60

  36. K29, kfb twice, k29 (62)

  37. P62

  38. K62

  39. P62

  40. Kfb, k to last st, kfb 

  41. P64

Stockinette until matches bottom piece then sew together leaving holes for side fins and knit in round again.

Narrow tail by eye looking at photos of whale.


Whale tail

When at most narrow (48 sts) start increasing - also knit more rows below so tail will be slightly lifted up(like when the breach).

Over 16 rounds increase to 82 total (I turned and knitted more rows on underside than top).

Method for knitting tail - when stitches are evenly divided onto 4 needles, knit with 2 at a time, other 2 on hold.  

For a few rows, reduce k2tog x 2 at beginning (closest to tail centre), then increase by 1 at tail edge on end of needle, again at end of next needle, then k to last four of round at k2tog x 2 again.

Then k2tog at start and end of rounds with no increases at edge until all stitches gone - draw string through last two.  

Repeat on other side.

Whale fin - right (according to whale)

Doesn't matter what you do just write down and mirror exactly as fins are symmetrical!

Right side, round starts by eye, bottom needle first to the left...

Stick needle in round hole, pu 14 sts top, 14 bottom

k 4 rounds


  1. k28

  2. k28

  3. k28

  4. k28

  5. Increase by 2 on bottom (16) and by 4 on top (18) 34 sts

k 8 rounds

  1. k34 

  2. k34

  3. k34 

  4. k34 

  5. k34 

  6. k34 

  7. k34 

  8. k34 

  1. n1 bot: Kfb by eye, k2tog at end (tail).  n2 top: k to last st, kfb by eye. (35)

  2. k round 

  3. k round 

  4. n1 bot: k2tog by eye, k to end of round

  5. n1 bot: k2tog x 2 by eye, k.  n2 top: k to last 2 and k2tog (by eye).  

  6. n1 bot: k.  n2 top: k2tog by tail and k2tog x 3 by eye. 

  7. k28 (15 bot n / 13 top)  

  8. n1 bot: k.  n2 top. k to last 2 and kfb x 2 (by eye). 

  9. n1 bot: k.  n2 top: k to last 2, kfb x 2 (by eye). 

  10. n1bot: k to last 2, k2tog (by tail).  n2 top: k. 

  11. k29 (14 bot / 15 top)

  12. n1bot: k2tog by eye, k to end.  n2 top: k to last 4 sts, k2tog x 2 by eye.

  13. n1 bot: k2tog by eye, k to end.  n2 top: k2 tog by tail, k to end. 24 sts

  14. kfb x 2 at start and end of round (by eye)

  15. k28 

  16. n1 bot: k to last 2, k2tog (by tail).  n2 top: k. 27 sts

  17. k2tog x 2 at start and end of round (by eye)  23 sts

  18. n1bot: k2tog by eye, k.  n2 top: k. 22 sts

  19. k22 (10 bot, 12 top)

  20. k22 

  21. k22

  22. n1 bot: k to end.  n2 top: k2tog by tail, k.

  23. k21

  24. k21

  25. kfb start and end (by eye).

  26. k23

  27. k23

  28. k2tog at start and end of round (by eye)

k 6 rounds

  1. k21

  2. k21

  3. k21

  4. k21

  5. k21

  6. k21

  1. kfb at start and end f round (by eye)

  2. k23

  3. k2tog x 2 at start and end of round (eye)

  4. k2tog at start and end of round (eye)

  5. k2tog x 2 at start and end of round (eye)

  6. k2tog x 3 at start and end of round (eye)

  7.  k2tog x 4

  8. k2tog x 2

draw string through 2 sts

tidy up corner

shape and stuff bumps, reinforce, look at photo whale fin 

other fin - round starts by eye but is top needle first.  replicate (mirror)

That's it!

Sunday, June 9, 2019

The Making of the Houhora Dolphin


Free pattern as follows:

This dolphin is knitted from nose to tail. I knit the body mostly in the round - except when forming buttonholes for the side fins and top fins. Later stitches are picked up round the buttonholes to knit the fins. It is a very seamless pattern, which does not require any piecing together afterwards although I do make the buttonholes a little long for flexibility (a few stitches sews them to be smaller. You do not have to use two colours, it is easier if you do not. Use only one colour for an easier knit - pattern included after this one.

I started with short needles, 3.25mm wooden, but when done with nose, switched to my regular metal 4mm needles. Use any wool you like, I used bamboo cotton but it was slippery. I liked how it revealed my design. If you use regular wool it will look even better. I knit through the back loop when I create animals, for a denser fabric.


NOSE

Cast on 6 onto 3 dp needles (short if possible).

1. (K1, m1, k1) repeat 3 times (9 sts)
2. (Kfb, k1, kfb) repeat 3 times (15 sts)
3. K15
4. (K2, kfb, k2) repeat 3 times (18 sts)
5. K18
6. (Kfb, k6) repeat 3 times (21 sts)
7. K21
8. K21
9. (K7, kfb) repeat 3 times (24 sts)
10. K24
11. K24
12. K24
13. There are 8 sts on each needle. Slip last st from previous needle onto working needle (bottom needle) so 9 sts. Now knitting to reg length needles - 4mm, K10 onto same needle so bot needle has 10 sts. Onto next new reg length 4mm needle (k, kfb) seven times - 21 sts on that needle (dolphin top). Bot: (K2, kfb) 3 times, k1 - 13 sts on bot needle. Now this point is start of round. (34 sts)
14. K34
15. (K3, kfb) until 2 sts left on top needle, k2 - 25 sts top. K4, kfb, k2, kfb, k4 - 15 sts bot.
(40 sts)


FOREHEAD (BOTTLE) SHAPING

16. K to last st of top needle (k25), turn.
17. Sl1, p to last st, turn.
18. Sl1, k to last 2 sts, turn.
19. Sl1, p to last 2 sts, turn.
20. Sl1, k to last 3 sts, turn.
21. Sl1, p to last 3 sts, turn.
22. Sl1, k to last 4 sts, turn.
23. Sl 1, p to last 4 sts, turn.
24. Sl1, k to last 5 sts, turn.
25. Sl1, p to last 5 sts, turn.
26. Sl 1, k to last 6 sts, turn.
27. Sl1, p to last 6 sts, turn.
28. Sl1, k to last 7 sts, turn.
29. Sl1, p to last 7 sts, turn.
30. Sl1, k to last 8 sts, turn.
31. Sl1, p to last 8 sts, turn.
32. Sl1, k to last 9 sts, turn.
33. Sl1, p to last 9 sts, turn.
34. K to end of needle, then continue knitting to finish round (keep gauge tight).

Divide sts from bot needle so that the gauge will be easier to balance, 7 onto two needles, then continue knitting with 7 st on it until there are about 20 on first needle, and the second needle will have 20.  Continue knitting - 5 rounds.

35. K40
36. K40
37. K40
38. K40
39. K40

Sl last 7 sts from round onto new needle. K7 sts, this is bot needle again. This will distribute sts to 14 sts on each of 3 needles.

40. K40


FIN BUTTONHOLES

Work on 28 sts (top 2 needles) in stockinette for 9 rows. This will create two “buttonholes” where fins will extend from:

41. K28
42. P28
43. K28
44. P28
You can knit all stitches onto one needle at this point, it’s easier.
45. K28
46. P28
47. K28.
48. P28
49. K28. Place on hold.

Work on 14 sts on bottom of dolphin in stockinette for 10 rows; I changed to a lighter colour for this:

50. K14
51. P14
52. K14
53. P14
54. K14
55. P14
56. K14
57. P14
58. K14
59. P14


TOP FIN HOLE

Keep knitting to join round, but change to deeper colour to continue top, twist colours when change:

60. K14, turn.
61. Sl1, p13, p14 lighter colour, introduce another strand of same blue for top and p14, turn.
62. Sl 1, k13, k14 lighter colour, k14, turn.
63. Sl 1, p13, p14 lighter colour, p14, turn.
Repeat rows 62-63 twice more (4 more rows of stockinette).
64. Repeating 62
65. Repeating 63
66. Repeating 62
67. Repeating 63
68. Follow pattern for next row of colour changes but repeat (K6, k2tog) until 4 sts left in row,
k4, turn.
69. P12, p12 lighter colour, p13, turn.
70. (K6, k2tog) repeat three times, then k12, turn.
71. P13, p8 lighter colour, p13, turn.

Divide sts equally onto 2 needles evenly (I had been knitting on one working needle), knitting to join rounds (top fin buttonhole ends), now only in original colour (cut off ball of lighter but leave long tail):

72. K10, k2tog, k8, k2tog, k10 (30 sts)
73. K30
74. K14, k2tog, k15 (one from next round) - 29 sts
75. K until last 2, k2tog (28 sts)
76. K28
77. K4, k2tog, k to last 6, k2tog, k4 (26 sts)
78. K26
79. K9, k2tog, k4, k2tog, k4, k2tog, k4 (23 sts)
80. K4, k2tog, k4, k2tog, k9, k2tog (20 sts)
81. K20
82. K11, k2tog, k3, k2tog, k2 (18 sts)
83. K18 (Stuff as you go!)


TAILFINS SHAPING

Starting with 18 sts, 9 top needle, 9 bottom. First expand base of tail:

84. (Kfb, k3, kfb, k3, kfb), repeat (24 sts)
85. K24
86. (K2, kfb, k6, kfb, k2), repeat (28 sts)
87. (K5, kfb, k2, kfb, k5), repeat (32 sts)
88. (Kfb, k14, kfb), repeat (36 sts)
89. K36
90. (k3, kfb, k10, kfb, k3), repeat (40)
91. (k8, kfb, k2, kfb, k8), repeat (44)


RIGHT TAILFIN

Divide half of each needle, slip sts onto 2 needles so 11sts on 4 needles. 2 needles will be worked with at a time to knit each tailfin separately. Working on right side 2 needles first (if tail to ceiling, belly facing you):

1. Needle 1 - kfb, k8, k2tog,
Needle 2 - k11 (22 sts)
2. Needle 1 - k11,
Needle 2 - k2tog, k8, kfb (22 sts)
3. Needle 1 - kfb, k8, k2tog,
Needle 2 - k11 (22 sts)
4. Needle 1 - k11,
Needle 2 - k2tog twice, k5, kfb twice (22 sts)
5. Needle 1 - Kfb twice, k5, k2tog twice,
Needle 2 - k11 (22 sts)
6. Needle 1 - K11,
Needle 2 - k2tog twice, k5, kfb twice (22 sts)
7. Needle 1 - k7, k2tog twice,
Needle 2 - k2tog, k9 (19 sts)
8. Needle 1 - k7, k2tog,
Needle 2 - k2tog twice, k6 (16 sts)
9. Needle 1 - k4, k2tog twice,
Needle 2 - k2tog, k6 (13 sts)
10. Needle 1 - k4, k2tog,
Needle 2 - k2tog twice, k3 (10 sts)
11. Needle 1 - k2tog, k3,
Needle 2 - k3, k2tog (8 sts)
12. Needle 1 - k1, k2tog, k1,
Needle 2 - repeat (6 sts)

Draw string through last 6 sts, secure. Cut string but leave a long tail hanging off point of tail.  Stuff fin.


LEFT TAILFIN

Return to other two needles on left side, stuff this fin as you go:

1. Needle 1 - k2tog, k8, kfb,
Needle 2 - k11 (22 sts)
2. Needle 1 - k11,
Needle 2 - kfb, k8, k2tog (22 sts)
3. Needle 1 - k2tog, k8, kfb,
Needle 2 - k11 (22 sts)
4. Needle 1 - k11,
Needle 2 - kfb twice, k5, k2tog twice (22 sts)
5. Needle 1 - K2tog twice, k5, kfb twice,
Needle 2 - k11 (22 sts)
6. Needle 1 - K11,
Needle 2 - kfb twice, k5, k2tog twice (22 sts)
7. Needle 1 - k2tog twice, k7,
Needle 2 - k9, k2tog (19 sts)
8. Needle 1 - k2tog, k7,
Needle 2 - k6, k2tog twice (16 sts)
9. Needle 1 - k2tog twice, k4,
Needle 2 - k2tog, k6 (13 sts)
10. Needle 1 - k2tog, k4,
Needle 2 - k3, k2tog twice (10 sts)
11. Needle 1 - k3, k2tog,
Needle 2 - k2tog, k3 (8 sts)
12. Needle 1 - (k1, k2tog, k1)
Needle 2 - repeat (6 sts)

Draw string through last 6 sts, secure. Cut string but leave a long tail hanging off point of tail.

Then more more shaping, draw string through inside the top of fin for half the fin, then down through stuffing to centre, then pull a little. This will cinch the first half of the fin a little tighter for more curvy shape. Then sew up the gap between the two fins with remnant strings - then draw inside after securing (make a knot inside dolphin fabric).


TOP FIN (DORSAL)

Pick up 28 stitches around buttonhole onto two of the short needles, 14 each one. I had sewed it a little shorter so it matched a dolphin better - about 4cm in length after.
Start knitting nearest dolphin nose.

1. K28
2. K26, k2tog (27 sts)
3. K12, k2tog twice, k11 (25 sts)
4. K25
5. K2tog, k9, k2tog twice, k8, k2tog (21 sts)
6. K21
7. K2tog, k7, k2tog, k8, k2tog (18 sts)
8. K7, k2tog, k7, k2tog (16 sts)
9. K2tog, k2, k2tog (14 sts)
10. K2tog, k3, k2tog twice, k3, k2tog (10 sts)
11. K2tog, k2, kfb, k3, k2tog (9 sts)
12. K2tog, k7 (8 sts)
13. K2tog, k4, k2tog (6 sts)
14. K2tog, k2, k2tog (4 sts)
15. K4
Draw string through 4 sts, secure.


LEFT SIDE FIN
(facing belly nose up)

Pick up 16 sts onto two short wooden needles, 8 on each needle.

Start knitting nearest dolphin nose (knits under the fin first).

1. K16
2. K16
3. K7, kfb twice, k7 (18 sts)
4. K8, kfb twice, k8 (20 sts)
5. K9, kfb twice, k9 (22 sts)
6. K10, kfb twice, k10 (24 sts)
7. K24
8. K2tog, k20, k2tog (22 sts)
9. K9, k2tog, k9, k2tog (20 sts)
10. K2tog, k16, k2tog (18)
11. K2tog, k14, k2tog (16)
12. K2tog, k6, kfb, k5, k2tog (15)
13. K2tog, k11, k2tog (13 sts)
14. K2tog, k9, k2tog (11 sts)
15. K2tog twice, k1, kfb twice, k2, k2tog (10 sts)
16. K2tog, k4, k2tog twice. (7 sts)
17. K2tog, k5 (6 sts)
18. K2tog, k2, k2tog (4 sts)
Draw string through last 4 sts, secure.
Do the same for the other side, but reverse pattern as follows:


RIGHT SIDE FIN
(facing belly nose up)

Pick up 16 sts onto two short wooden needles, 8 on each needle.

Start knitting nearest dolphin nose (knits over the fin first).

1. K16
2. K16
3. K7, kfb twice, k7 (18 sts)
4. K8, kfb twice, k8 (20 sts)
5. K9, kfb twice, k9 (22 sts)
6. K10, kfb twice, k10 (24 sts)
7. K24
8. K2tog, k20, k2tog (22 sts)
9. k2tog, k9, k2tog, k9 (20 sts)
10. K2tog, k16, k2tog (18)
11. K2tog, k14, k2tog (16)
12. K2tog, k5, kfb, k6, k2tog (15)
13. K2tog, k11, k2tog (13 sts)
14. K2tog, k9, k2tog (11 sts) ,
15. K2tog, k2, kfb twice, k1, k2tog twice (10 sts)
16. K2tog, k4, k2tog twice. (7 sts)
17. K2tog, k5 (6 sts)
18. K2tog, k2, k2tog (4 sts)

Draw string through last 4 sts, secure.


On vacation to Houhora, making this - after a walk through forest which had been left to itself.

31 DEC 2018

I followed a path towards the top of the hill.
Everything looked sacred.
I wanted to be careful where I stepped, for everything was alive.
I took care to step around small plants and even the leaf litter felt alive.
I thought about how everything is
Papatuanuku - Earth Mother, everything is alive - except where humans have cleared all life away - we have forgotten we live on Mother Earth, all the time.